
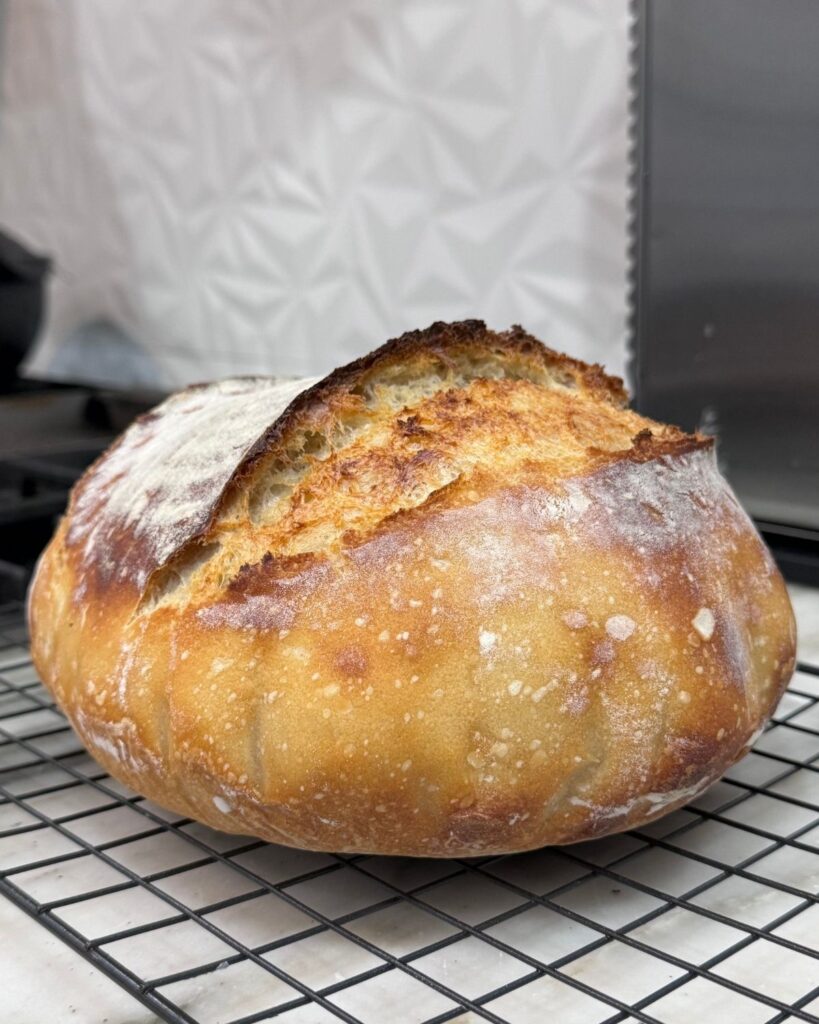
If you’re curious about sourdough but feel intimidated, you’re not alone.
I put off making sourdough for years because it seemed complicated, time-consuming, and honestly a little overwhelming. Then Covid happened, and I had all the time in the world. So I, along with thousands of other people, decided to adopt a sourdough tamagotchi and spent months getting my starter right.
The good news? It’s much simpler than it looks once you understand the basics.
This beginner sourdough guide covers everything I wish someone had told me before I learned how to make sourdough bread at home.
This post may contain affiliate links. If you purchase through them, I may earn a small commission at no extra cost to you.
What Is Sourdough?
Sourdough is a type of bread that uses a naturally fermented starter instead of commercial yeast. A sourdough starter is simply flour and water that have been fed over time, allowing wild yeast and beneficial bacteria to grow.
To make a starter, you combine flour and water and feed it regularly until it becomes bubbly, active, and doubles in size after feeding.
People love sourdough for a lot of reasons. It has a tangy flavor, simple ingredients, and a long fermentation process. Many people also find it easier to digest than some store-bought breads.
Most sourdough bread recipes contain just flour, water, salt, and starter.
What You’ll Need to Get Started
Sourdough Starter
Sourdough starter is the main component of this recipe, and I can’t tell you how crucial having a strong starter is.
In my experience, if your starter is weak, your bread won’t come out as good as it could. Most of the time it’s still edible, but it’s not the beautiful loaf you’re hoping for.
You can make your own starter. It’ll take a week or two… or a few months if you’re like me.
Or you can buy one like the 233-year-old San Francisco starter on Amazon.
Just because you buy your starter does not mean you failed. I HIGHLY encourage you buy one, not just because using my link helps my family 🙂 but because it took me MONTHS and TONS of flour to finally get a decent starter, maybe closer to a year to have a STRONG starter.
I’m currently on my third starter.
The first one died because I listened to someone on the internet who told me to let it rise in the oven with the light on. I accidentally cooked my original Covid starter. Yes, I did cry.
Then I bought one, it was WAY stronger than mine, and the container I bought wasn’t airtight for the fridge so it grew mold. Didn’t cry that time because I just bought a new one 🙂
So learn from me and start with a strong starter. A strong starter solves most beginner sourdough problems. If your starter is active and healthy, you’re already halfway there.
Basic Equipment
I created a little sourdough section on my Amazon Storefront with the items I use and love, but you will need these basic kitchen items.
- Kitchen scale
- Mixing bowl
- Banneton (optional)
- Dutch oven
- Bench scraper
What You Don’t Need
- Expensive gadgets
- Fancy mixers
- A perfectly stocked baking kitchen
Feeding Your Starter
I like to keep starter feeding simple. You do not need to make this a full-time job.
If you are using a purchased starter, follow the directions that come with it for the first feeding. The King Arthur starter instructions use all-purpose flour and recommend feeding by weight instead of measuring cups, which is what I would do too.
A simple maintenance feeding is:
- 113g starter
- 113g lukewarm water
- 113g all-purpose flour
Stir it together, cover loosely, and let it sit at room temperature until it becomes bubbly and active.
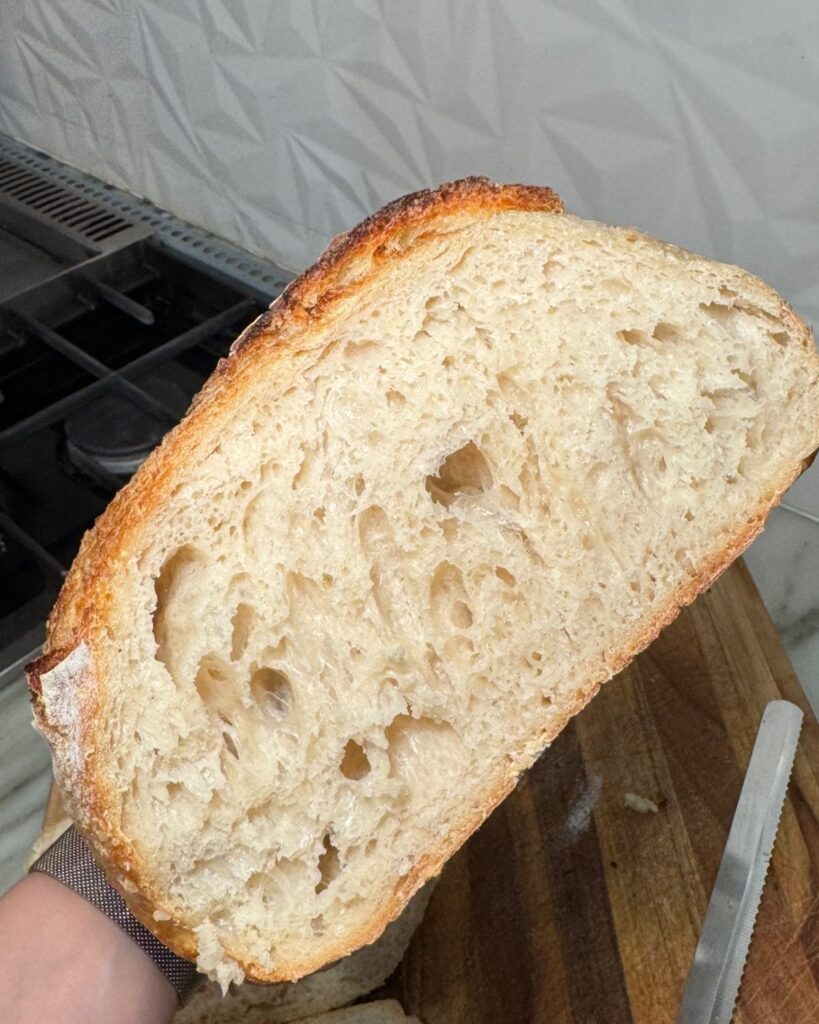
If your starter has been in the fridge, take out about 113g starter and feed it with 113g water and 113g flour. Let it sit at room temperature for 4-12 hours, or until it is bubbly and expanded. If it still feels sleepy, feed it again. A strong starter should double within about 6-8 hours after feeding.
If your starter lives on the counter, feed it daily. If it lives in the fridge, feed it about once a week. If you’re like me and let it hibernate in the fridge during the summer because it’s 115 degrees outside, just plan on giving it a few good feedings before you bake with it again.
How to Know Your Starter Is Ready
A healthy starter should:
- Double (or more) after feeding
- Look bubbly throughout the jar
- Have a slightly tangy smell
- Pass the “looks alive” test when you peek at it
You may hear people talk about the float test. While it can be helpful, it isn’t foolproof. I’ve had starters make beautiful bread that didn’t float, and starters that floated but weren’t quite ready.
The biggest sign is consistent growth after feeding. If it reliably doubles within 6-8 hours, you’re probably ready to bake.
Easy Sourdough Bread Recipe for Beginners
Ingredients
- 100g active, bubbly sourdough starter
- 450g bread flour
- 100g whole wheat flour or kamut flour, optional
- 450g warm filtered water
- 12g salt
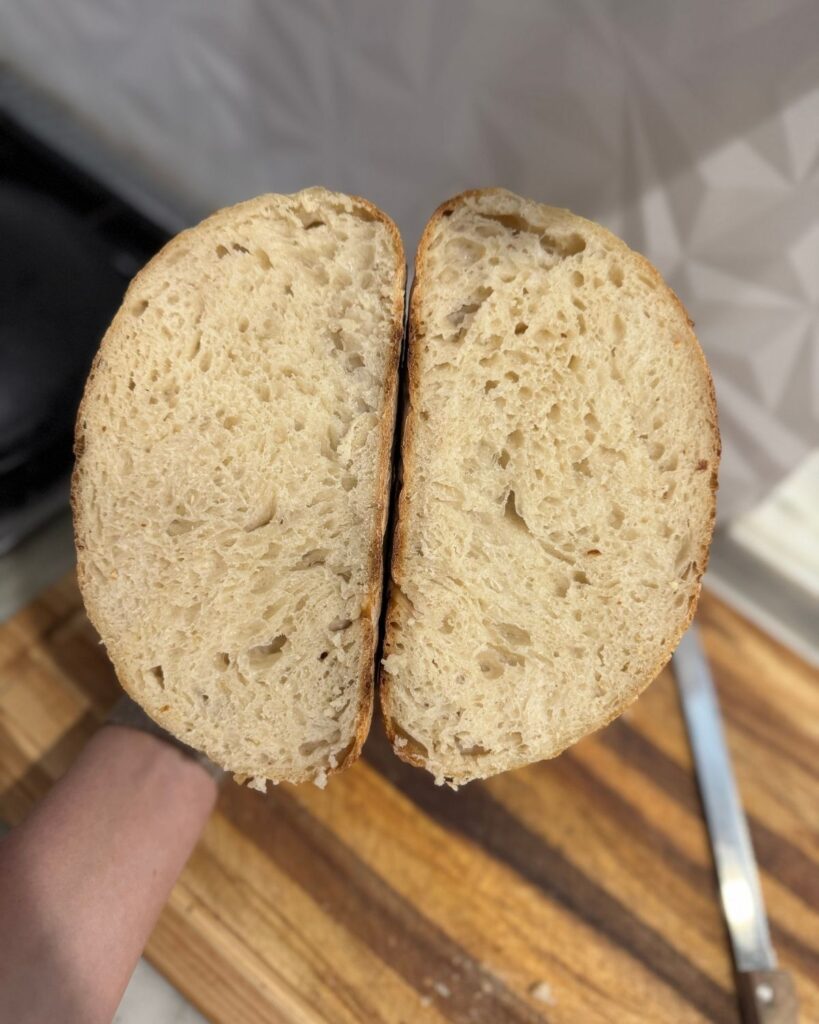
If you want to keep this extra simple, you can use all bread flour. The whole wheat or kamut adds flavor, but it is not required.
What This Looks Like Throughout the Day
Here is a loose schedule so you can see how this actually fits into real life.
7:00 AM — Feed Starter
Feed your starter in the morning and leave it on the counter until it is bubbly, active, and doubled.
12:00 PM — Mix Dough
In a large bowl, mix your active starter and warm water until the starter is mostly dissolved.
Add the flour and mix until there are no dry spots left. The dough will look shaggy and messy. That is normal.
Cover the bowl with a damp towel (or disposable shower caps – my favorite) and let it rest for 45 minutes.
12:45 PM — Add Salt + First Stretch and Fold
Sprinkle the salt over the dough and use your hands to work it in.
Then do your first set of stretch and folds while the dough is still in the bowl. Grab one side of the dough, stretch it up, and fold it over itself. Turn the bowl and repeat until you have gone around the dough a few times.
Cover and let it rest for 30 minutes.
1:15 PM — Second Stretch and Fold
Do another set of stretch and folds in the bowl.
At this point, the dough should start looking smoother and a little stronger, but it will still feel loose. Cover again and let it rest for 30 minutes.
1:45 PM — Third Stretch and Fold
Do one more set of stretch and folds in the bowl.
After this, cover the dough and let it rise on the counter until it is puffy and almost doubled. This usually takes 1-5 hours depending on the temperature of your house and how active your starter is.
3:00 PM-ish — Shape Dough
This is the part that confused me when I first started. Do not take the dough out of the bowl too early.
After your stretch and folds are done and your dough has had time to rise, then turn it out onto a lightly floured surface.
Shape it into a round loaf by folding the edges toward the center and creating tension on the outside of the dough. Let it rest for about 20 minutes.
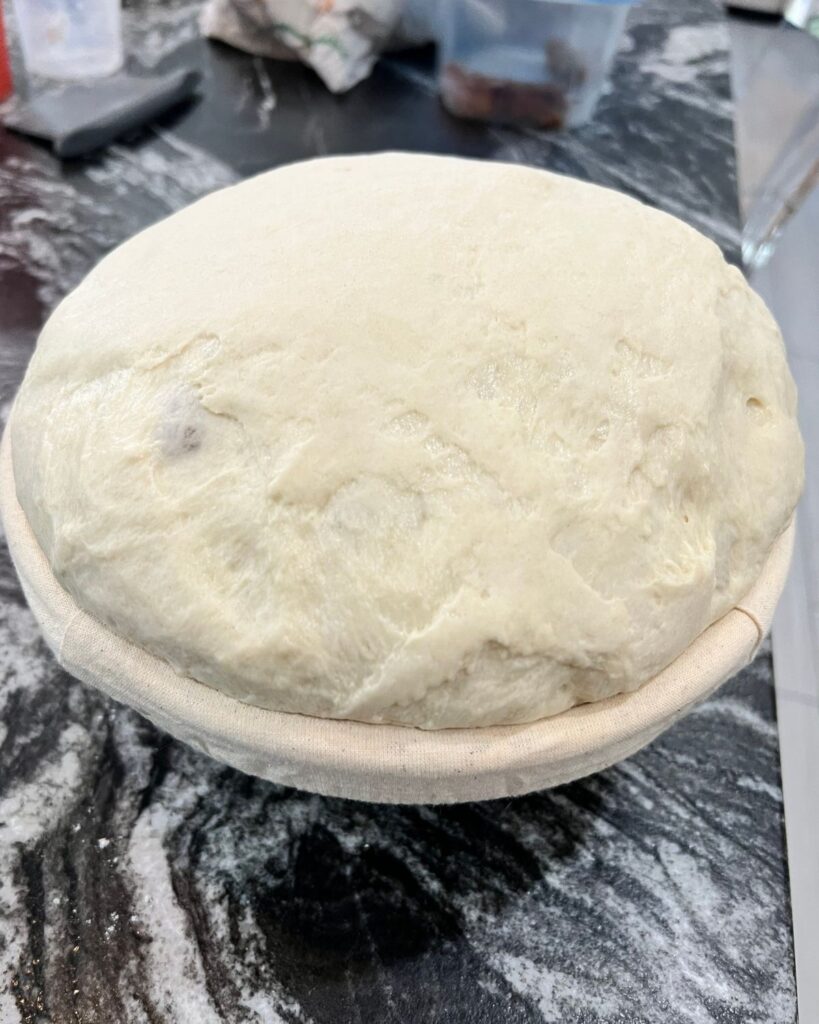
After the rest, do one final shaping and place the dough seam-side up in a banneton or towel-lined bowl.
Cover and place it in the fridge overnight.
Next Morning — Bake
Preheat your oven to 475°F with your Dutch oven inside. Let the Dutch oven heat for at least 25-30 minutes.
Take your dough out of the fridge, turn it onto parchment paper, dust lightly with flour, and score the top.
Carefully place the dough into the hot Dutch oven.
Bake covered for 25 minutes.
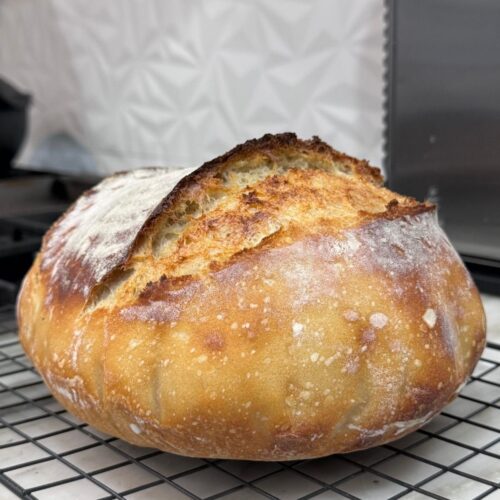
Remove the lid, lower the oven to 450°F, and bake another 15-20 minutes, or until the loaf is deeply golden.
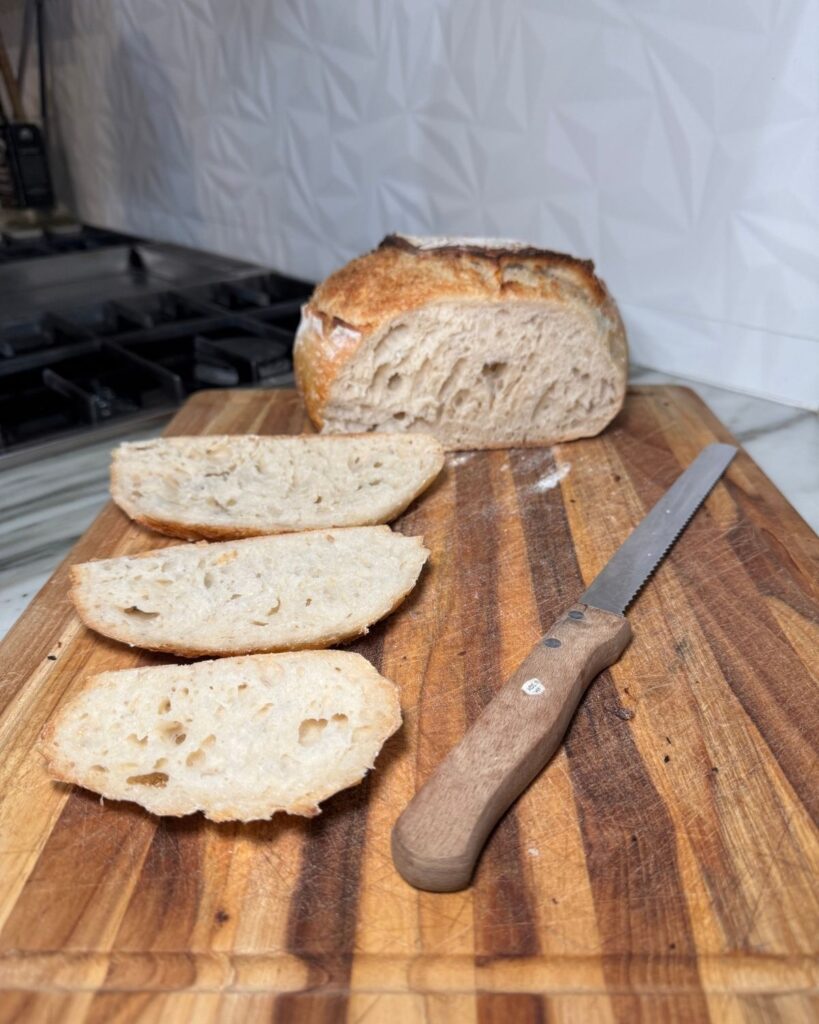
Let the bread cool for at least 1-2 hours before slicing.
Common Beginner Mistakes
Using a Weak Starter
If your loaf is dense, doesn’t rise well, or feels gummy inside, a weak starter is usually the first thing I look at. In my experience, most beginner sourdough problems can be traced back to a starter that wasn’t active enough before baking.
Not Weighing Ingredients
This is key. Don’t rely on measuring cups for sourdough.
At first glance, weighing ingredients seems harder, but it’s actually much easier. Just set your bowl on the scale and pour until you hit the right number. Trust me on this one.
Under-Proofing
You can’t rush greatness.
One of the hardest parts of sourdough is waiting long enough for the dough to properly ferment. If your loaf seems dense or tight, it may simply need more time.
Over-Proofing
Yes, sourdough can sit too long.
If your dough becomes overly puffy, sticky, or starts collapsing back on itself, it may have fermented longer than it needed to.
Cutting Into Bread Too Soon
This is arguably the hardest part.
But just like a great steak off the grill, sourdough needs time to rest. Cutting into it too soon can affect the texture and make the inside seem gummy.
Comparing Your First Loaf to Instagram Bread
Some people live, sleep, and dream sourdough, and I love that for them.
But we’re just trying to make some tasty bread over here.
Baking is an art form, and every kitchen is different. Your oven, elevation, room temperature, and starter all play a role in the final loaf. Give yourself permission to learn as you go.
My Best Beginner Tips
- Start with one recipe and stick with it
- Use a scale
- Keep notes
- Expect ugly loaves at first
- Focus on consistency, not perfection
- Take photos of every loaf. You’ll learn more by comparing your first loaf to your tenth loaf than by reading another 20 sourdough articles.
Frequently Asked Questions
Is Sourdough Hard to Make?
Yes and no.
The process itself is actually pretty simple. The hard part is that sourdough gives us a lot of opportunities to overthink things.
I’ll say it over and over again: if you have a strong starter, the rest of the process becomes much easier.
How Often Do I Need to Feed My Starter?
If your starter lives on the counter, feed it once a day.
If it lives in the fridge, feed it about once a week.
If you’re like me and let it hibernate through the summer because it’s 115 degrees outside, you can leave it in an airtight container in the fridge and then bring it back to life with a few feedings before you bake again.
Can I Keep My Starter in the Fridge?
Absolutely.
I do.
I have friends who leave theirs on the counter and bake bread every day, and I love that for them. But that doesn’t fit my lifestyle.
Keeping your starter in the fridge is a great option if you only bake occasionally.
Why Didn’t My Loaf Rise?
The most common reason is a weak starter.
However, dough temperature, under-proofing, over-proofing, and inaccurate measurements can also affect your results.
If I had to place a bet though, I’d still put my money on the starter.
Do I Need a Dutch Oven?
If you want that classic crusty artisan loaf, a Dutch oven is by far the easiest option.
Can you bake sourdough without one? Probably.
But if you’re just getting started, I’d absolutely recommend a Dutch oven.
Can I Use All Bread Flour?
Yes.
In fact, that’s what I recommend for most beginners.
Whole wheat and kamut can add extra flavor, but bread flour is simple, reliable, and easier to learn with.
How Long Does It Take to Make Sourdough?
While the process takes about 24 hours from start to finish, most of that time is hands-off. You’re only actively working with the dough for a few minutes at a time throughout the day.
Don’t Be Afraid of Sourdough

Sourdough has become one of my favorite hobbies. There’s something really satisfying about mixing a simple dough, doing a few stretch and folds throughout the day, and pulling a beautiful loaf out of the oven the next morning.
It can feel intimidating at first because there are so many opinions online. Trust me, I’ve gone down every sourdough rabbit hole there is.
Start with a strong starter, use a scale, follow one recipe, and give yourself permission to make a few ugly loaves along the way.
Before long, you’ll be the person showing up to family dinners with homemade sourdough in hand.
And if you end up accidentally cooking your starter in the oven like I did… welcome to the club. 🙂
One of the best parts about baking sourdough is that nothing goes to waste. All of that discard can be turned into delicious recipes too.
My Sourdough Discard Banana Bread is one of my family’s favorites, and I’ll be sharing more of my favorite sourdough recipes here on Sweets With Jules soon.
Other Recipes Readers Love
- Sourdough Discard Banana Bread
- Sourdough Pizza Dough
- Simple Cinnamon Rolls With Cream Cheese Frosting
- Oatmeal Raisin Cookies
- 5 High-Protein Dinners
Easy Sourdough Bread for Beginners
Equipment
- Kitchen scale
- large mixing bowl
- Dough Scraper or bench scraper
- Banneton Basket (or bowl lines with floured kitchen towel)
- Dutch Oven
- Bread Lame or sharp knife for scoring
- Unbleached parchment paper
Ingredients
- 100 g active sourdough starter
- 450 g warm filtered water
- 450 g bread flour
- 100 g whole wheat flour or eikorn optional (you can just use 550 bread flour if you don't want to add this in)
- 12 g salt
Instructions
- In a large bowl, combine the active starter and warm water until mostly dissolved.
- Add the flour and mix (using your hands) until no dry flour remains. Cover with a damp tea towel (or disposable shower cap) and let rest for 45 minutes.
- Add the salt and work it into the dough with your hands until evenly distributed.
- Perform the first set of stretch and folds in your bowl. Cover and rest for 30 minutes.
- Perform a second set of stretch and folds in your bowl. Cover and rest for 30 minutes.
- Perform a third set of stretch and folds in your bowl. Cover and allow the dough to continue rising until puffy and nearly doubled in size. (1-5 hours)
- Turn the dough onto a lightly floured surface.Fold the edges of the dough toward the center about 4-5 times, working your way around the loaf.Next, gently stretch the dough into a rectangle. Fold it over on itself hot-dog style, then roll it up longways.Finally, use your hands to pull the dough toward yourself across the counter a few times. This creates tension on the outside of the loaf and helps give you that beautiful oven spring when it bakes. Let rest under damp tea towl for 20 minutes.
- Perform a final shaping and place seam-side up in a floured banneton or towel-lined bowl.
- Cover and refrigerate overnight.
- The next morning, preheat a Dutch oven to 475°F for 25–30 minutes.
- Turn the dough onto parchment paper, score the top, and carefully transfer it to the hot Dutch oven.
- Bake covered for 25 minutes.
- Reduce oven temperature to 450°F, remove the lid, and bake another 15–20 minutes until deep golden brown.
- Allow the loaf to cool for at least 1 hour before slicing.
Notes
- A strong, active starter is the most important factor for a successful loaf.
- Bulk fermentation time will vary depending on the temperature of your kitchen.
- Don’t rush the cooling process or the loaf may seem gummy inside.
- Beginners can use all bread flour if they prefer.
- This is a fairly wet dough, especially for beginners. Don’t panic if it feels sticky or loose during the first stretch and folds. As the gluten develops, the dough will become stronger and easier to work with.